
It was the fella's 21st birthday a couple of weeks ago, and because im basically the best girlfriend/person ever, not only did I get him the most amazing gift ever in the form of a genuine personalised NASA flight suit (yeah he's a space nerd), I also volunteered to make the cake.
A rocket ship cake.
Seriously, that boy is going to spend eternity trying to top my awesome birthday gift giving skillz.
 |
| The final result Complete with cupcakes as the planets and stars |
I thought I might give a little baking demonstration today,
because honestly who wouldn't want to make this bad boy for themselves!
I must give some of the credit for this creation to my Mum, whose cooking knowledge and common sense saved me from making a horrible mess of this! Even though she winged a bit that I had roped her into an impossible task, I know she secretly was loving it.

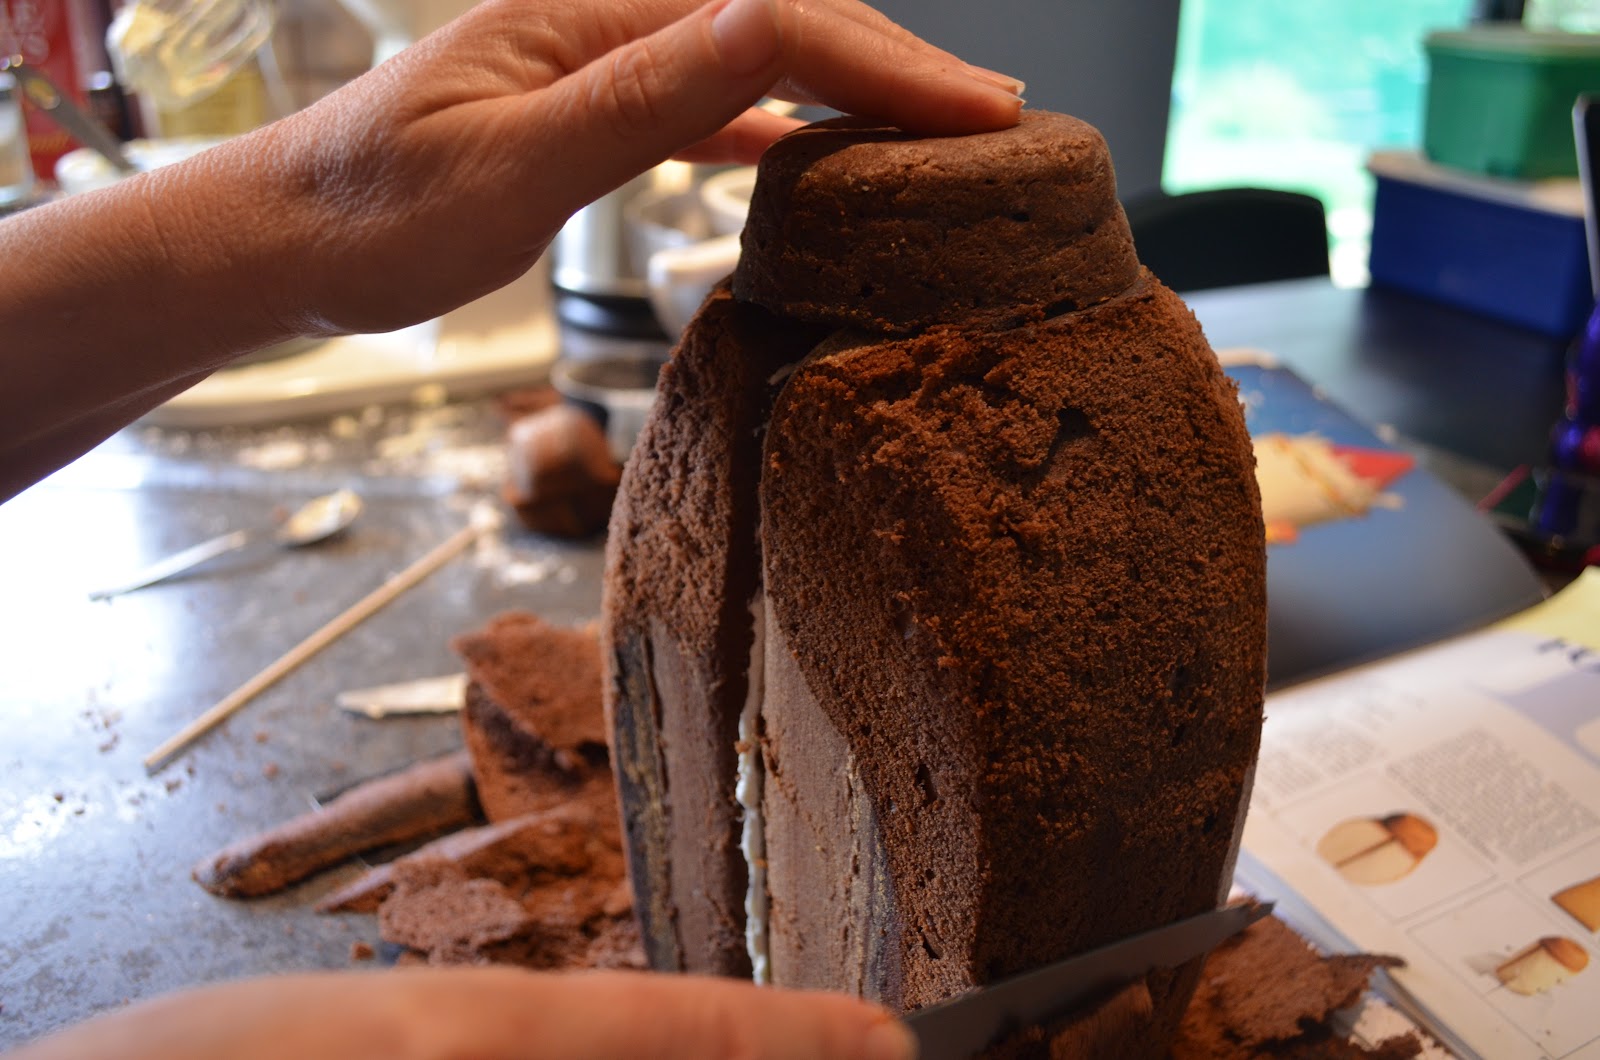
We used two lots of chocolate cake baked in loaf tins and stood them on end and joined them with plain icing and toothpicks to prevent it from falling over while we worked. The nose of the rocket is a large cupcake baked in a ramekin pot and then a smaller cupcake was placed on top of that.

Then the carving began. Using a knife we delicately scraped off the sides of the chocolate loaf to round the edges slightly so that it looked more rocket like and less brick like.
You might notice the trusty Australian Women's Weekly Children's Birthday Cake Book in the above photo. I'm pretty sure i've had almost every cake in the book over the years, and it served as inspiration throughout this cooking experiment.

The wings are make from a smaller thinner loaf tin and then cut in half on an angle.
At this point I couldn't believe it actually looked somewhat like a rocket! The next issue was how to put the icing on without getting all the crumbs from the shaven cake all mixed up in it. The good old internet pulled through and we did whats called a crumb coat where you mix some of the icing with a little water and spread that thinly over the cake, leave it to set a little and then put on a thicker coat of icing.
 |
| It's the finer details that really count. |
 |
| Ta-dah! Shuttle! |
For all you non space enthusiasts "STS- 21" referes to the Space Shuttle program.
STS stands for 'Space Transportation System' and the number alludes to the mission number.
I thought it was amusing to have this shuttle STS-21, get it? He's turning 21, so mission 21?
Anyway I laughed for ages when I thought of it, but he didn't get it and I had to explain it.
Honestly, sometimes I think I know more about the manned space program than he does!
 |
| I was particularly pleased with my Saturn |

I then reveled in decorating the little planet and star cupcakes.
The planets are gobstoppers and the little stars are a marzipan type cut outs. They are all decorated with silver and gold edible glitter!!
The icing was supposed to be black but after using the entire bottle of food colouring it stayed grey, which is probably better as people might be put of by black icing.
The icing was supposed to be black but after using the entire bottle of food colouring it stayed grey, which is probably better as people might be put of by black icing.
I got the glitter, stars and the food colouring (which is a gel colour that produces a more vibrant colour) from Complete Cake Decorating Supplies in Panorama, South Australia. It's an awesome little shop that stocks all kinds of cake decorating supplies that you thought you didn't need but once you see them you must have!
So there you have it, a horrible instruction on how to actually make a rocket cake (really I just wanted to show off). But perhaps you were inspired to take your next birthday cake to the next level and make it out of this world! The sky's the limit!
*space based puns intended.
 |
| The pleased as punch birthday boy in his flight suit, which he wore all night. |
Mission Completion.
No comments:
Post a Comment